Pages

Showing posts with label DIY. Show all posts

Wednesday, September 26, 2012

Nursery Reveal

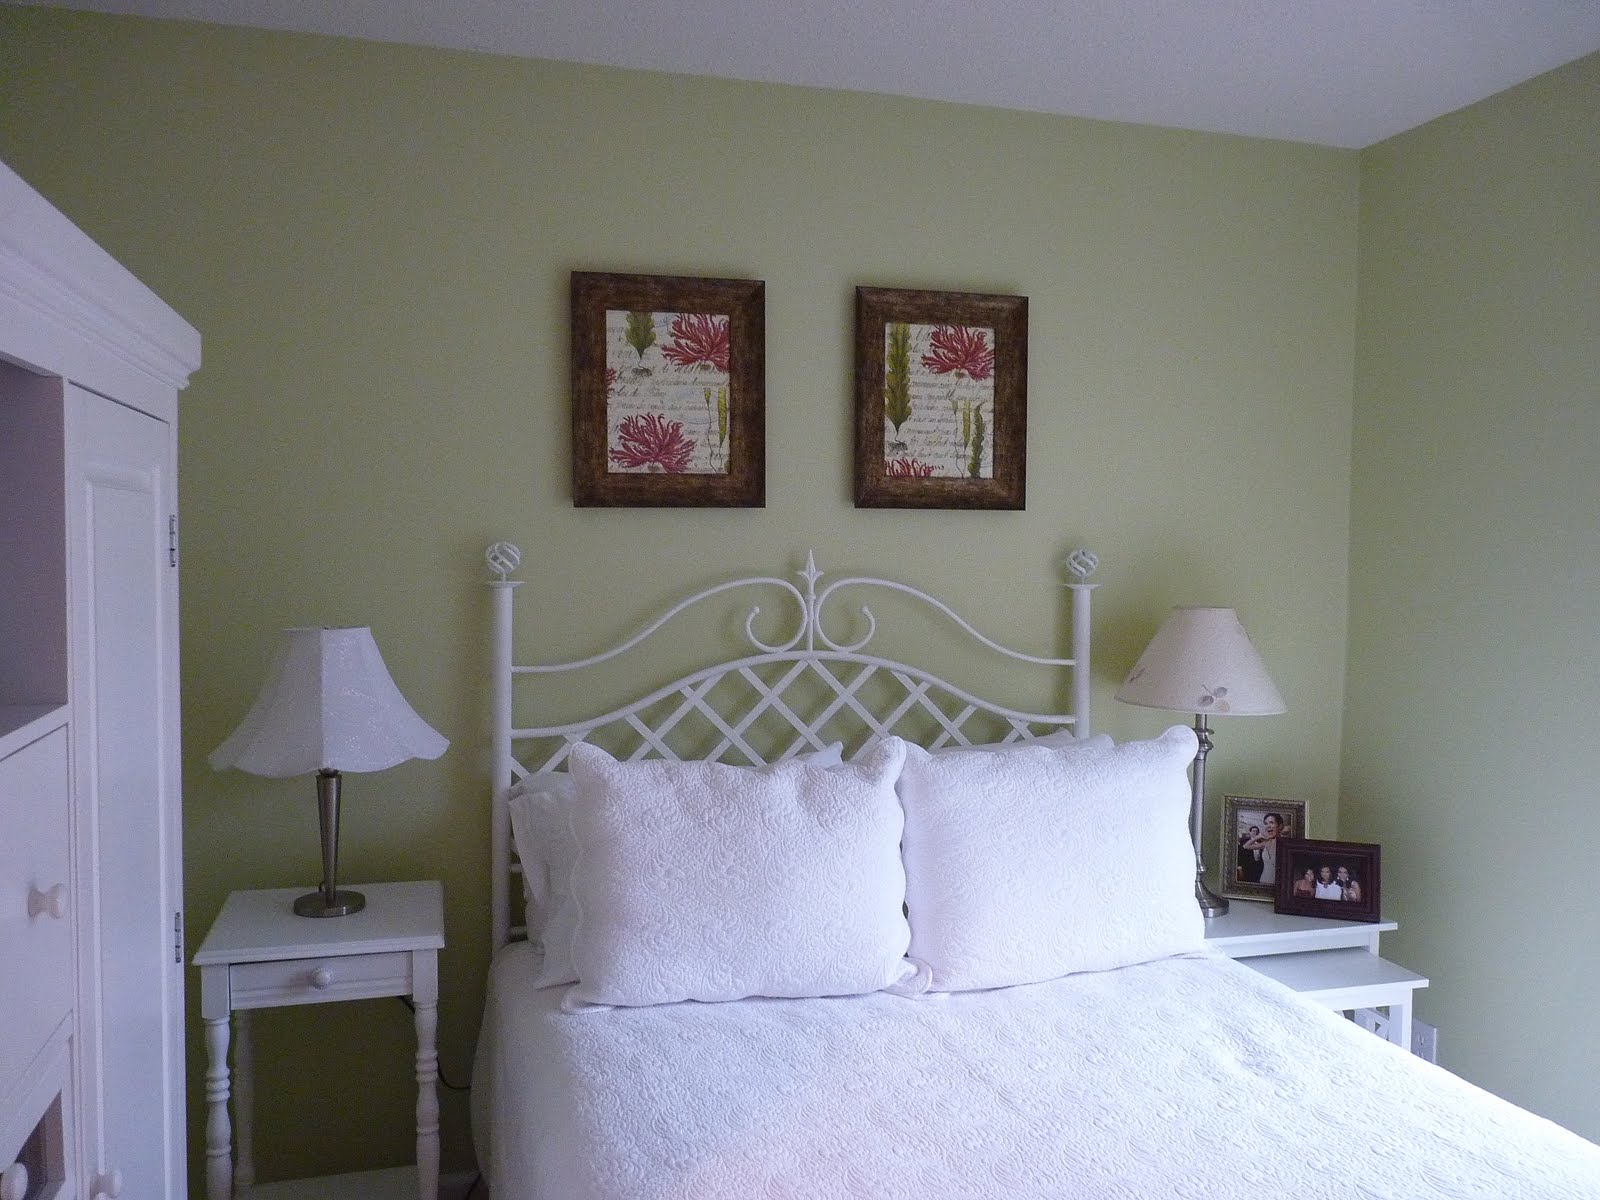
So before I show you the nursery, I have to show you where I started! Below is a picture of our guest room on the main floor of our house. This room was rarely used, other than for storage and looking pretty! Since its right next to our bedroom, its perfect for the nursery!

Before we knew if Baby Roberts was a boy or a girl, I fell in love with the idea of painting the nursery a dark blue. I figured I could use accent colors based on the gender once we found out! Below are a couple of pictures I tagged on pinterest for ideas.

And here are the after pictures! I am so pleased with how everything has turned out. Of course things are still a work in progress as we continue to get items needed, but if Baby Boy Roberts comes sooner than later, at least we are ready!


Hanging above the crib are three Ikea frames. In the frames are the crib skirt fabric and some adorable green giraffe fabric!

The white bookshelf was one I already had since college, but is a cute addition to the room to display items!

My mom had the blue and white curtains on hand that I could use, but we added a stripe of green fabric to tie in the colors of the nursery. 

The crib skirt fabric is from Forsyth Fabrics, the crib sheet is from Tuesday Morning, and the bumper pad is Carter's that was originally all white, but we added the pops of blue and green for the cording and ties. 


The changing table is a dresser from Ikea. The lamp on the changing table was found at TJ Maxx, but the fabric was swapped out with the crib skirt fabric. The mirror is from HomeGoods. 

 We replaced the knobs on the dresser with knobs found at Hobby Lobby. I love how it ties the room together!

The glider and ottoman are Little Castle from Buy Buy Baby. The floor lamp is from IKEA, and the framed print was a gift from a friend, which was my inspiration for the colors of the room.
 

Friday, July 1, 2011

{DIY} Project - Custom Corkboard

At our household, we receive a ridiculous amount of mail. I mean, its obsurd. I'd say about 90% of it is JUNK! I wish I could say that I am so organized with it, and that every day I take the time to sort through it all, but that just doesn't happen. It gets piled up in our "mail bowl" and important things dissapear to the bottom.

Well, what is my solution? A corkboard where we can put all of our important documents! So off I went to the store in search. What did I find? Your typical, brown on brown corkboards. I mean, who wants to put up in their house that looks like it should belong in an office? Not me! So here is what I did:

First, painted the frame white:


Second: found a fabric that I liked (purchased at Fabric World for only $2.99/yard!) and cut it to the dimensions of the cork board:

Third: placed the neatly pressed fabric on the inner frame of the cork board and tacked it down with white thumb tacks:

End Result: A cute board for us to have all of our important documents!

Note: I still need to hang this, but it was so late the other night I didn't have time ... I'll post the final placement once it is up!

Monday, June 27, 2011

{I heart} Fabric World

Hello Friends! Last week when I was in Atlanta for the Elizabeth Musser event, I had to stop by my favorite fabric shop - Fabric World! It's a huge warehouse filled with discounted fabrics. Look at the prices - can you believe all of the fabrics are $3.99/yard or less?


 I found so many patterns that I loved! Hence, the cart below ... 

I have so many fun ideas and plans for the fabric - I'll be sure to keep you posted on how the projects are coming along! 

Friday, April 1, 2011

{Painted Furniture} - Desk

Happy Friday Everyone! Here is a quick post about the desk I just finished last night. I found this at an estate sale a few weeks back. I thought it looks a little drab being the dark brown, and the hardware wasn't accentuated. Here is a before picture:

And the after picture:

I painted the inside of the desk drawers to give it an extra pop:

This will be for sale this weekend in our new booth at 1610 Antiques! 

Thursday, March 31, 2011

Progress

I feel like I am finally making some progress on my projects! I have shown some pictures below, but they aren't the best quality because of the lighting on our sun porch. Hopefully I'll have some better pictures when we open up our booth this weekend at 1610 Antiques! More to come on that ... 


Friday, March 25, 2011

{Painted Furniture} - Dining Room Side Table

I have mentioned before that my Mom is great at finding pieces of furniture for me to fix up! She did it again with this little side table that is perfect for one wall in our dining room that needed a little something more. I love the design on this piece! Here is a before picture:
There was a split in the wood, so I used some wood filler to fill it in

Next is my handy dandy Gripper! I don't know what I would do with out this!
And the finished product! I didn't take too many pictures of the painting process, but after the Gripper, I did a coat of light gray, then dry brushed on a light white, then distressed the sides. 
Oh, and I happened to find this cute candle set at Dutchman's on clearance for $10! 


What projects have you been working on lately? If your into painting like me, pop over to Valspar's website and pick up a free paint sample! They are only doing a few samples a day while supplies last, but you get a free sample, a $5 off coupon, and a free brush and paint pan! Not too bad, right? 


Wednesday, March 2, 2011

{Painted Furniture} - Mirror

The other day I was browsing around some shops down in the Village and saw this pretty mirror at the front of a store! I had to stop in and check it out. 
Then I saw the price tag - yikes! $395 is a little out of my price range. 

Then I remembered that I had picked up this mirror at a garage sale a few weeks back for only $20, so I decided I'd fix it up to look like the one I had seen!
Before Picture

 After Picture 

It's not exactly the same, but close enough, and fits within my budget!

Monday, February 14, 2011

{Guest Bedroom} - Updated

A few weekends ago I decided it was time to update our downstairs guest bedroom! 

To be honest, when Johnathan and I first got married and I was updating the house, this was on the top of my to-do list. I really hated the wallpaper border in the room (it reminded me of a doctor's office for some reason!), and there were huge holes in the walls where shelves used to be (see pictures below!)

Wallpaper border = not cool
Ginormous holes in the wall = really not cool

Removing the border was a tedious task and it took at least half of a day to do, but thankfully I had this great stuff called "Chomp!" that helps remove wallpaper. 


I think I had about 10 piles of paper just like this one!
Midway through painting - showing the difference in paint colors, and the holes on the wall are filled. 
After pictures! 
The colors in these pictures were my inspiration for the room. She may not remember this, but when I lived with Lauren and Renee in the apartment, Mrs. Muller gave me these prints (they are actually wrapping paper!) and I loved them so much I decided to frame them!
The room still needs a few more updates - curtains and accent pillows. Here is a glimpse of some fabric ideas I have in mind. 

Hopefully I will have more updates soon!
Related Posts Plugin for WordPress, Blogger...